Weekly Theme- Board Game Nails

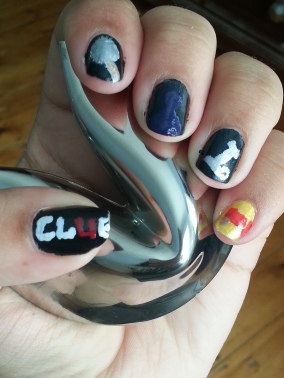
I was chosen for last week’s theme and I chose board games. The game I chose was *drum roll please* Clue. My favorite board game ever, though I’ve never officially played it. This has been on my nail bucket list for a while and I was going to seize the opportunity.

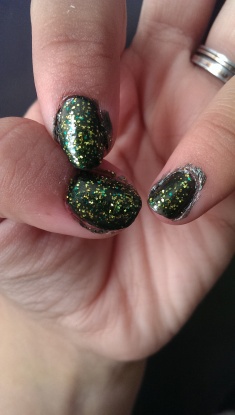
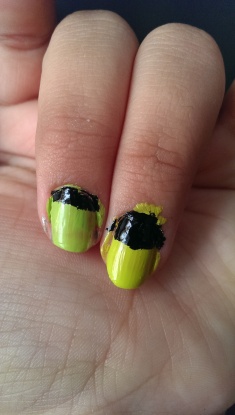
First I used Elf Sea Escape and Wet ‘N’ Wild The Wonder Yellows for the main colors. It’s hard to tell but Sea Escape is black with dark blue glitter.

2015-08-04 12.17.51

2015-08-04 12.18.19

I wanted to do a piece of the game on each nail. I want to give you guys a chance to guess who did it and with what weapon, but I’ll give you the room because I thought it was a bit difficult to tell what I was attempting to draw.

I used Wet ‘N’ Wild Metallica, Delush , and Elf Glamour Girl for the magnifying glass.

2015-08-04 14.02.37

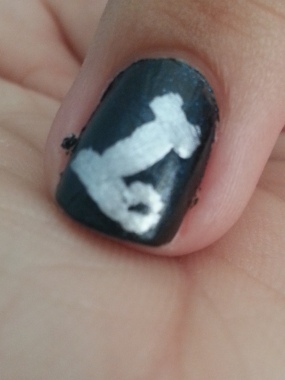
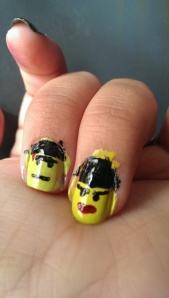
Next came the “person” as you know in the game it’s just a game piece. I used Rimmel London Midnight Rendezvous.

2015-08-04 14.03.17

Next is the weapon.

2015-08-04 14.03.40

Finally the room it all happened in. It’s the dining room. I was going for a table and chair. I used Joe Fresh Tomato Tomate and Elf Glamour Girl.

2015-08-04 14.04.23

Finally what would Clue be without the clue?

2015-08-04 14.04.37

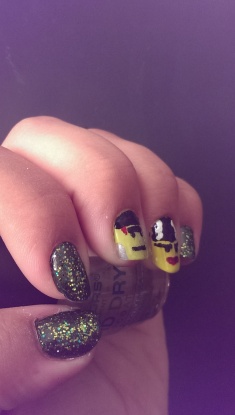
As you can see I almost ran out of room. My nail had just broke the day before and I had to file it down some. I’m really pleased with how well it turned out nevertheless. I used L.A. Colors Festive for the ‘U’ and Milani White for all the other letters.

Last step clean up, top coat and go.

2015-08-04 14.05.04

2015-08-04 14.19.03

2015-08-04 14.20.02

Now can you guess whodunit?

County Fair Nails

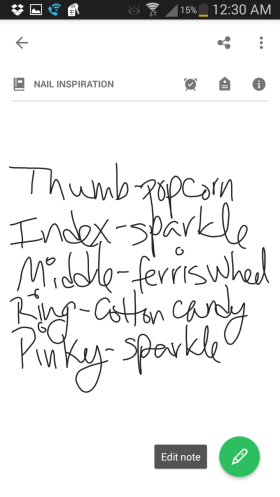
The weekly theme of the facebook page I joined was county fair. I haven’t posted for a while so as you can imagine my nails have been very abandoned 😦 When I saw the theme I was a little over the top to get started. So many ideas came to me, so I decided to write it all down.

2015-07-30 04.30.42

I like to use Evernote, or sometimes just plain pencil and paper, to plan out what and how I’m going to do my nails. It looks like a jumbled messed, but it actually makes sense to me.

After applying a base coat, I used Wet ‘N’ Wild Putting On Airs as my main color.

2015-07-31 12.48.34

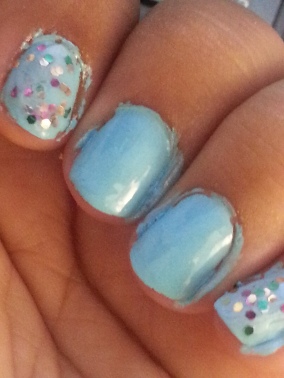
Next I started on the easiest part- the fireworks. I didn’t want to do the same old ones, and to save myself the headache, I just used a glitter. I used Wet ‘N’ Wild Fergie Collection Summer Spritzer.

2015-07-31 13.20.21

Next I started on my favorite part of the mani. I was aiming for cotton candy on a stick. I used Pure Ice After Hours for the cotton candy and Milani White for the stick.

2015-07-31 13.35.02

I used pieces of q-tips to give it more cotton-y look.

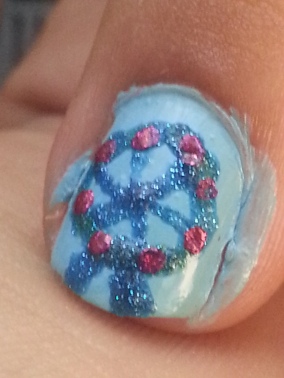
Next step was the Ferris Wheel. I used two of my textured polishes- Zoya PixieDust Liberty and Nicole by OPI Selena Gomez Scarlett, and my Sally Girl glow in the dark polish.

2015-07-31 14.00.41

It was difficult to catch the glow in the dark part, and I’m so mad about that.

Next was the popcorn. I used Milani Rapid Cherry and White for the bucket, ColorMate Golden Sunshine for the popcorn.

2015-07-31 13.51.07

Last step is clean up and go. I skipped the top coat because I had no plans of keeping this on for long. As I post this now it’s gone and I’ve started working on my next mani. I was chosen to pick this week’s theme, I’ll give you a clue it’s board games.

2015-07-31 14.37.23

2015-07-31 14.01.30

2015-07-31 14.02.26

2015-07-31 14.37.30

Valentine’s Day nails

Hi all,

I want to make at least two mani’s this month for Valentine’s Day. This is the first of them. I am still addicted to my color changing polish so I added it to these nails and it worked out perfectly.

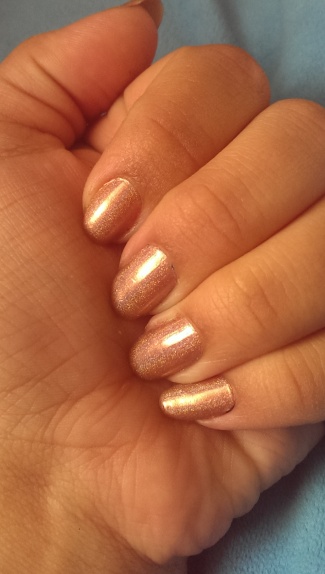
I started with Dainty Digits Neptune’s Nebula, an orange-y holographic polish. I really like how this came out but requires a couple coats to get it to that dark holo I like.

Here’s after one coat:

2015-02-03 23.23.13

Here’s after another coat:

2015-02-06 11.45.07

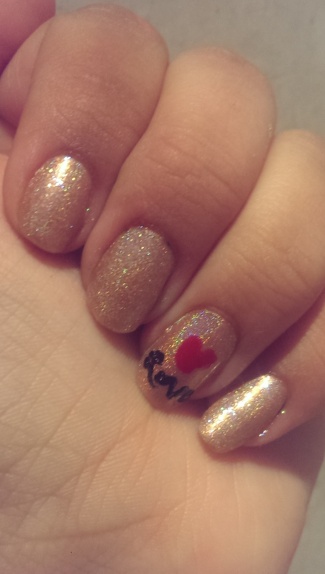
For the next steps I skipped the step by step tutorial. I used L.A. Colors Festive for the heart and Wet ‘N’ Wild Ebony Hates Chris for the “Love.” I also used Funky Fingers Riptide, a glitter color changing polish.

2015-02-06 13.24.35

2015-02-06 13.24.42

2015-02-06 13.24.47

And here’s the polish when exposed to the sun:

2015-02-09 10.52.43

2015-02-09 10.52.19

2015-02-09 10.52.23

Here’s a side by side photo:

PicsArt_1423497492102

Weekly Theme- 3D

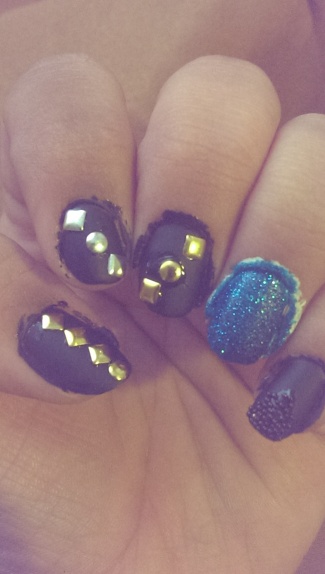
This week’s theme made me want to try out my new rhinestones. There wasn’t a lot of steps to take just color and stick on the stones. I will admit though I made these a couple days ago most of the stones have fallen off.

Occasionally I bring out my dryer during a mani, in hopes of speeding the process along.

2015-01-09 14.02.49

I used Wet ‘N’ Wild Black Creme for most of my fingers and Rimmel London White Hot Love on my ring finger, then I used Zoya PixieDust Liberty on my ring finger.

2015-01-09 15.08.05

Next I used Wet ‘N’ Wild matte top coat on all the fingers but the ring.

2015-01-09 15.52.04

Final step is the rhinestones, I tried to do different patterns on each (but the ring).

2015-01-09 16.12.03

Clean up and we’re good to go.

2015-01-10 10.00.54

2015-01-10 10.00.47

2015-01-10 10.05.09

Weekly Theme- Comic Book Superhero

This week’s theme was awesome! I love comics and was sort of inspired by Nicolas’ pajamas- Justice League. I found this mani easy except for Superman’s logo. I did the mani a logo mani.

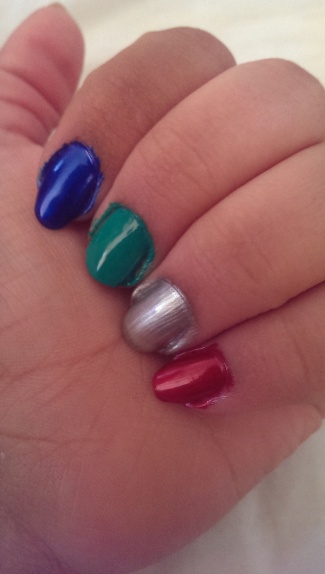
I used a different color for each finger. I used Rimmel London White Hot Love on my thumb, Funky Fingers Galactic Blue on my index, E.L.F. Teal Blue on my middle, Wet ‘N’ Wild Metallica on my ring, and E.L.F. Red-y or Not on my pinky.

2014-12-30 13.53.30

I got to tell you I’m in love with that blue, it’s my ultimate favorite polish by far.

Next I had to start the logos.

2015-01-01 17.22.07

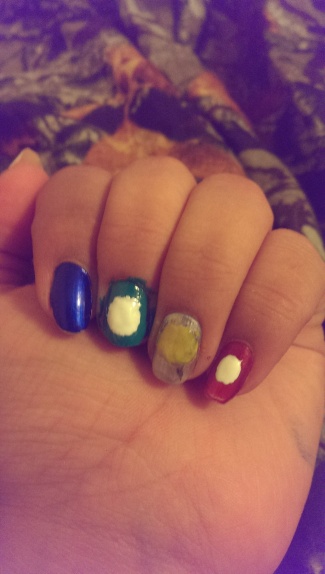
As you can see I kind of messed up on Batman’s logo, I was starting with the bat symbol then was going to use the yellow. It hit me as I was finishing duh I should put the yellow then the bat symbol. I used Color Mates Golden Sunshine.

2015-01-03 10.17.57

Here’s the end result. Superman was the hardest because honestly I can’t do an ‘S’ if my life depended on it. The logos are: Superman, Green Lantern, Batman, and the flash.

2015-01-03 10.19.47

Nicolas exploring my nails and you can see the inspiration on his pajamas.

comic nails

Weekly Theme- Nightmare Before Christmas Nails

This week’s theme was Nightmare Before Christmas, a mani I’ve been planning since last year. My bff loves Nightmare Before Christmas so I know it pretty well. I know this is more of a Halloween mani but technically it’s a Christmas one too.

I started with a clear base then used Wet ‘N’ Wild Gray’s Anatomy as an undie. I was really looking forward to using this polish, but after I started applying I was quickly regretting it. This polish is a beautiful duo-chrome polish but the formula is too watery and requires too many layers to achieve the look I wanted.

After one coat:

2014-12-17 16.51.18

After 4 coats:

2014-12-17 17.11.13

It’s hard to capture the color with my phone so I tried using the flash. It’s gray but has a green-pink shimmer to it.

2014-12-17 17.14.19

Next step was to start doing the basic outlines to my nails. I wanted to do the moon scene on the index, Sally on my middle finger, Jack on my ring, Oogie Boogie on my pinky and Zero on my thumb.

2014-12-18 12.39.37

I used Funky Fingers Lil Miss Sunshine, a color changing polish, for the moon and Wet ‘N’ Wild Black Creme for the hill and Sally and Jack.

2014-12-18 13.49.45

Next is Sally. I used Maybelline Poolside for Sally’s face and chest and Wet ‘N’ Wild Black Creme, Rimmel London White Hot Love, and Sinful Colors No Text Red for her facial features . Next I used L.A. Colors Wavelength, L.A. Colors Teal, L.A. Colors Pink and Wet ‘N’ Wild Black Creme for her dress.

2014-12-18 12.59.44

Here’s the picture of Sally completed. I used China Glaze Unplugged for her hair.

2014-12-18 13.32.52


Next I did Jack wearing a Santa hat and his fake beard. I used Rimmel London White Hot Love, Wet ‘N’ Wild Black Creme, and Sinful Colors No Text Red.

2014-12-18 13.49.54


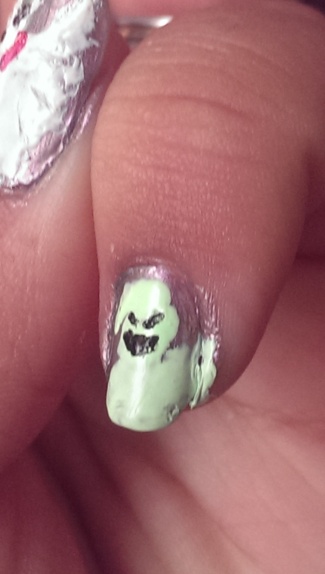
For the pinky I used Fresh Paint Honeydew and Sally Girl Glow in the Dark for Oogie Boogie, I used Wet ‘N’ Wild Black Creme for his mouth and eyes.

2014-12-18 13.49.57


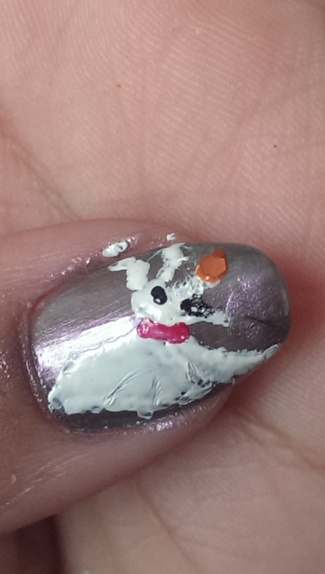
Last but not least, my favorite character (and design) is Zero. He was fairly easy to make; I used Rimmel London White Hot Love, Wet ‘N’ Wild Black Creme for his eyes, Sinful Colors No Text Red for his collar, and Simply Sweet Neon Orange and Shirley Ann Nail Lacquer Michelangelo (glitter) for his nose.

2014-12-18 13.49.33


I know I was really late with this one but I’ll try and do better I promise 🙂

Autumn nails

Hi guys sorry I’ve been gone so long, lots of things going on with my mom and school. I have two research papers due next week and both have to be 5-10 pages long. I have a couple manis I did but didn’t post, at some point I will though I promise. Right now I’m posting about my autumn gradients. I started with a base of Rimmel London White Hot Love.

2014-11-17 14.26.42

Next step was to use a face sponge to make the gradient on the nails. I used China Glaze Unplugged, Rimmel London Oragasm, and Color Mates Golden Sunshine.

2014-11-17 14.35.27

This is after a coat but that’s too light for me. I used another coat plus touch-ups using the sponge.

Next step is to use Wet ‘N’ Wild Ebony Hates Chris for the leaves.

2014-11-17 15.43.01

I filled in the rest of the ring finger to make the leaf stand out more.

2014-11-17 16.00.32

For the middle finger I left the leaves just like that, but added a little more details.

2014-11-17 16.00.38

Final step is clean up and a matte finish.

2014-11-18 14.41.39 2014-11-18 14.41.50 2014-11-18 14.41.56 2014-11-18 14.42.06 2014-11-18 14.43.08

Halloween Nails 2nd

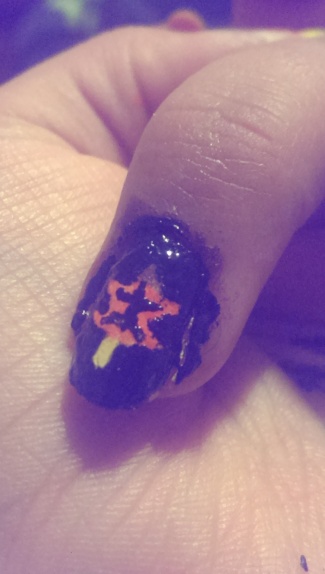
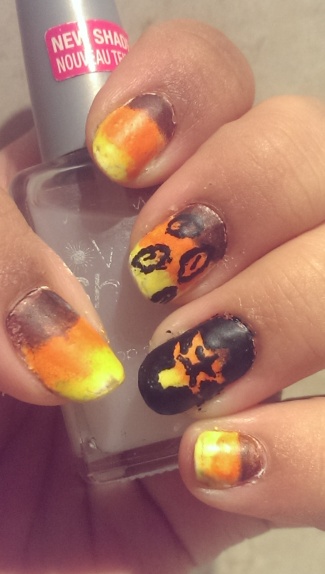
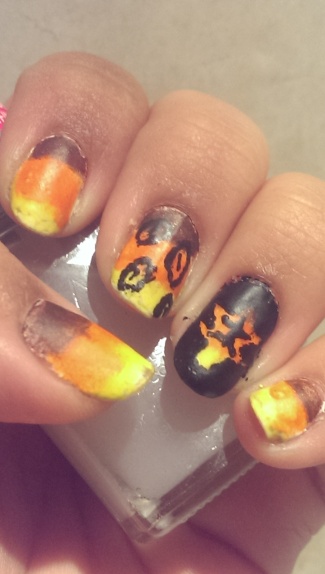
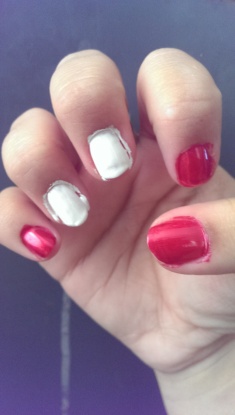
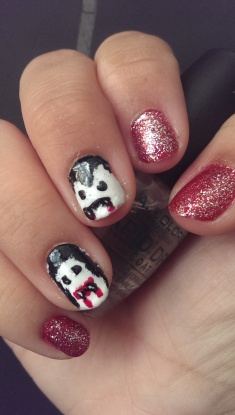
Kind of late but here’s my second set of Halloween nails. I made Frankenstein’s monster and his bride and Dracula and his bride. For the first time I actually put effort into putting designs on my right hand. It wasn’t easy but the end result is awesome.

I used three different base colors for each finger. On my index, pinky, and thumb I used Wet ‘N’ Wild Fergie Emerald Rock City; for the middle I used Essie The More The Merrier; and for the ring finger I used Barielle Shades Green Apple Chew.

2014-10-27 12.37.59

On my right hand I did the same but using different colors. For the index, pinky, and thumb I used L.A. Colors Festive; for the middle and ring I used Wet ‘N’ Wild French White Creme.

2014-10-27 12.40.24

I’m going to need to get a new white, you can tell on the middle finger it’s getting goopy.

Next step is to add some glitter to the index, pinkies, and thumbs of each hand.

I used Iris Colors See You Again on the left:

2014-10-27 13.34.02

And Orly Tiara on the right:

2014-10-27 13.34.20

Next step was to add “hair” to everyone. I used Wet ‘N’ Wild Ebony Hates Chris for this.

2014-10-27 13.34.10

2014-10-27 13.34.28

Next step was to add features to everyone’s face.

2014-10-27 13.46.08

The eyes and Frankie’s mouth were also Wet ‘N’ Wild Ebony Hates Chris. For the bride’s lips and Frankie’s scar I used Barielle Shades Lindsay’s Dancin’. Hard to tell from this angle but I used Wet ‘N’ Wild Metallica for Frankie’s bolts.

2014-10-27 14.11.15

For the eyes, mouth, and outline of the fangs I used Wet ‘N’ Wild Ebony hates Chris. For the lips and blood I used Barielle Shades Lindsay’s Dancin’. I changed from L.A. Colors Festive because Lindsay’s Dancin’ was a much deeper red and has more of a “blood” look to it.

Last step is clean up and a top coat.

2014-10-28 12.52.15

2014-10-28 12.53.08

2014-10-28 13.00.27

2014-10-28 13.00.07

2014-10-28 13.42.41

Right:

2014-10-28 12.59.30

2014-10-28 12.59.39

2014-10-28 12.59.51

2014-10-28 12.53.33

Hope you all had a wonderful Halloween and got lots of candy. I had school and still dressed up; other people looked at me pretty weird.

Ghosts and bats- Halloween Nail I

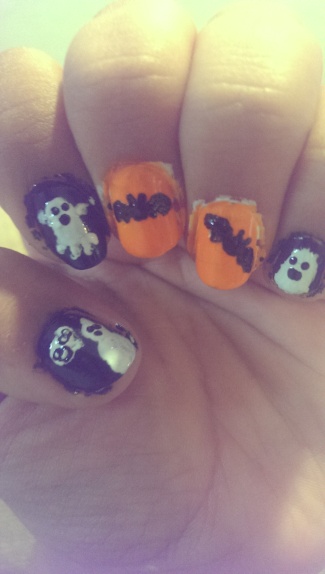
This week marks the start of my Halloween mani’s. I never make the same design twice, so I am making different designs this year. I’ll be doing 3 or 4, depending on how much time I have. I decided on ghosts and bats this time around; I will say the bats were the hardest part for me.

I started with my clear base coat. I like Wet ‘N’ Wild clear base because it actually does the job it’s suppose to do. It protects my nails with no staining what-so-ever and it’s a cheap brand. My favorite brand is Wet ‘N’ Wild, it’s cheap and the polishes are never watered down or too thin/thick. Okay now onto the mani 😉

I used Wet ‘N’ Wild Ebony Hates Chris as the undie on my thumb, index, and pinky. I used Wet ‘N’ Wild French White Creme for a base and Simply Sweet Orange for the nails.

2014-10-06 13.52.05

2014-10-06 14.10.33

Next step is to paint the ghosts. I made each different from the other. My favorite was the ghost thumb.

Pinky:

2014-10-06 14.38.12

Index:

2014-10-06 14.37.59

Thumb:

2014-10-06 14.39.07

Here’s all three together:

2014-10-06 14.39.26

Next was the bats. They’re cute but was kind of hard to make them look like bats.

Middle:

2014-10-06 14.38.24

Ring:

2014-10-06 14.38.35

Here they are together:

2014-10-06 14.38.46

Here’s the nails all together:

2014-10-06 14.39.32

Final step is top coat and clean up. This is also a new polish I’ve been using. It’s LA Colors Rapid Dry Top Coat and I must say it dries a bit faster.

2014-10-07 09.59.41

2014-10-07 09.59.45

2014-10-07 09.59.50

2014-10-07 10.01.10

2014-10-07 10.01.27

Mermaid Crack Up Nails

Sorry for being gone so long again. Between school and hanging out with my mom, it’s been a crazy week. Over my birthday weekend I bought two crackle polishes and my mom gave me Sally Hansen Diamond Strength polish for my birthday.

2014-09-24 09.55.39

I decided to use NYC Crack Me Up City Treasure over Marbles For Polish Mermaid Summer. I felt a nice light blue under the gold would look nice.

I started with a clear base of Wet ‘N’ Wild protective base. This one works better than my last polish; I still had some yellowing with the other polish.

Next step was to start the undie base using Mermaid Summer.

2014-09-24 09.52.38

This polish always comes out thick but not too thick. Also I’m a sucker for a nice blue color 🙂

After that was completely dried I used City Treasure to complete the look.

2014-09-24 10.12.42

Final step is a clear top coat and clean up.

2014-09-25 11.45.29

2014-09-25 11.45.35

2014-09-25 11.45.47

2014-09-25 11.45.52

2014-09-25 11.45.41